Cakes
Cakes, Tortes, Tarts & More...
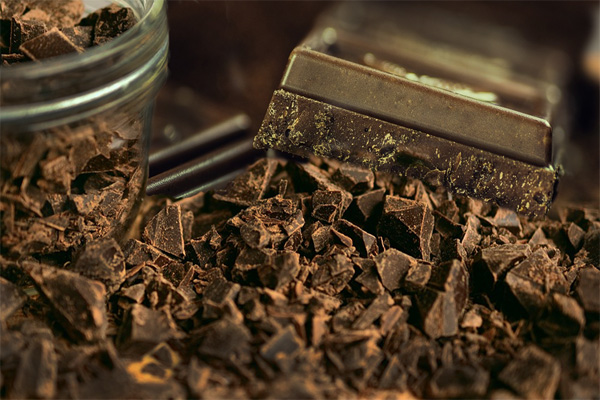
Chocolate Tips
The first enemy of melted chocolate is water, even a hot and humid day can ruin your efforts. Make sure that hands, utensils, bowls, surfaces - everything that comes in contact with the warm liquid chocolate are absolutely dry. One drop of water in warm melted chocolate will cause it to seize (bind, clump and turn grayish in color).
The second enemy of chocolate is too high heat. It's very easy to scorch! No matter what method you choose to melt chocolate, do not take shortcuts, use patience.
To create a chocolate coating of manageable consistency for candies and other treats, add 1 full tablespoon of grease (shortening, peanut or vegetable oil) to 6 - 8 ounces of solid chocolate and melt them together. Do not use butter because it contains water.
Melting Chocolate - Microwave Method:
Place chocolate in a small, deep microwavable bowl. Use a 50% power setting. Nuke in 30 second intervals, stirring between each interval. Stirring is important because chocolate will keep its shape even when melted, so stirring is important. If you suspect chocolate is close to being melted, reduce time to 10 seconds and just let it sit for a minute or two to complete the melting process.
Place chocolate in a small, deep microwavable bowl. Use a 50% power setting. Nuke in 30 second intervals, stirring between each interval. Stirring is important because chocolate will keep its shape even when melted, so stirring is important. If you suspect chocolate is close to being melted, reduce time to 10 seconds and just let it sit for a minute or two to complete the melting process.
Melting Chocolate - Double Boiler Stovetop Method:
Fill a saucepan with water up to the point that the double boiler bowl would rest its bottom in the water when put in place. Bring the water to a full boil and turn off the heat. Place the double boiler bowl filled with chocolate (and grease if you're making chocolate candy coating) on top of the boiled water. Do what you have to do and come back after 25 minutes (you can set the timer for 25 minutes) and carefully stir the chocolate. If it still has a way to go, turn the burner on warm or low to help it along. When the chocolate has melted, carefully remove the bowl of chocolate and wipe off the bottom of it with a dishtowel. You're now ready to make that chocolate treat or candy coating.
Fill a saucepan with water up to the point that the double boiler bowl would rest its bottom in the water when put in place. Bring the water to a full boil and turn off the heat. Place the double boiler bowl filled with chocolate (and grease if you're making chocolate candy coating) on top of the boiled water. Do what you have to do and come back after 25 minutes (you can set the timer for 25 minutes) and carefully stir the chocolate. If it still has a way to go, turn the burner on warm or low to help it along. When the chocolate has melted, carefully remove the bowl of chocolate and wipe off the bottom of it with a dishtowel. You're now ready to make that chocolate treat or candy coating.
Melted chocolate may also be brushed on a candy center with a pastry brush, but two or three coats may be needed.
If you are out of baking chocolate substitute 3/4 cup unsweetened cocoa and 1/4 cup shortening for 4 ounces of chocolate.
To avoid chocolate cake white on the outside when you flour the pan, try greasing, then using sifted unsweetened cocoa powder to coat the pan.
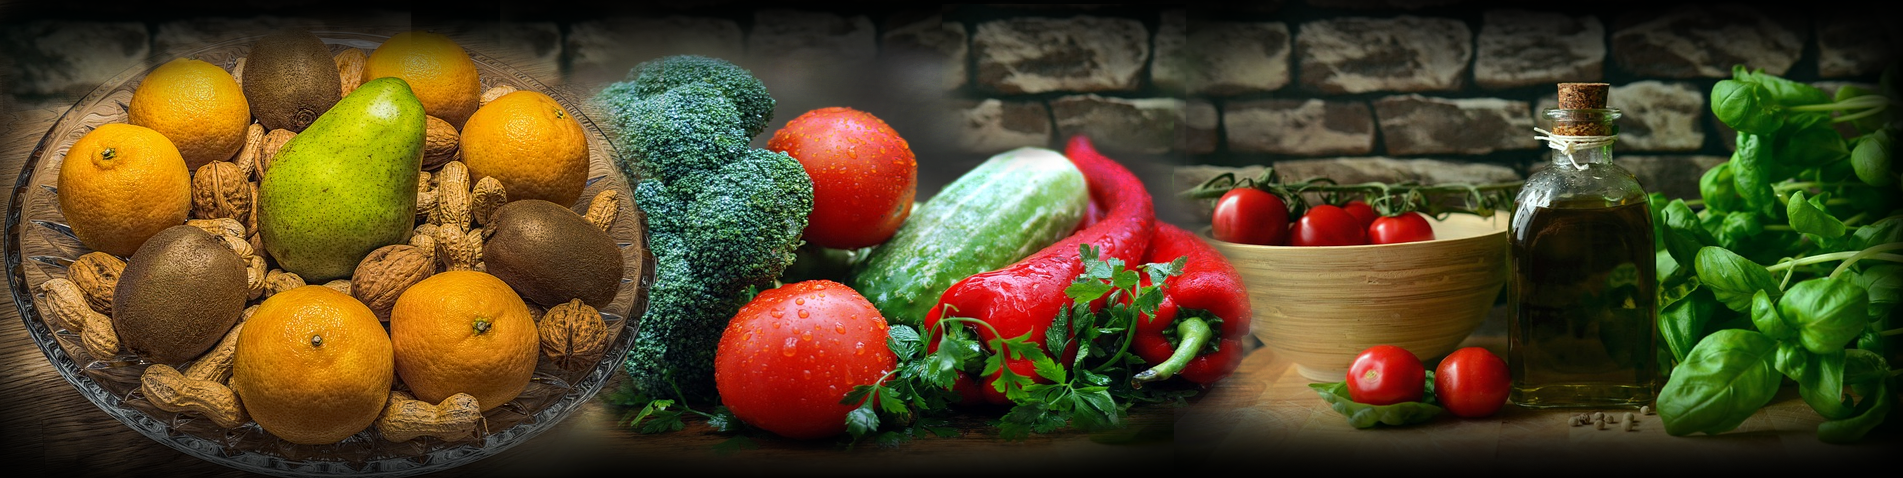
Healthy Eating
Healthy eating is a lot more delicious than you may have thought...Bread Making Tips
In the first place, the quality of the ingredients for bread making should be carefully considered, because on this depends the quality of the finished product. No one who prepares homemade bread can expect good bread to result from the use of inferior materials.
In preparing hot breads, a heavy touch and excessive handling, are more likely to result in a unsatisfactory product. A good rule to follow in this particular, and one that has few exceptions, is to handle and stir the ingredients only enough to blend them properly.
When cutting fresh bread, heat your knife by dipping it into hot water, then dry. In this way you can cut cut the thinnest bread slices from a fresh loaf easily.