There's no better way to welcome
your guests than a hot fondue
Fondues are rich and delicious meals
without a lot of preparation involved
Surprise your loved ones with great craft creations...
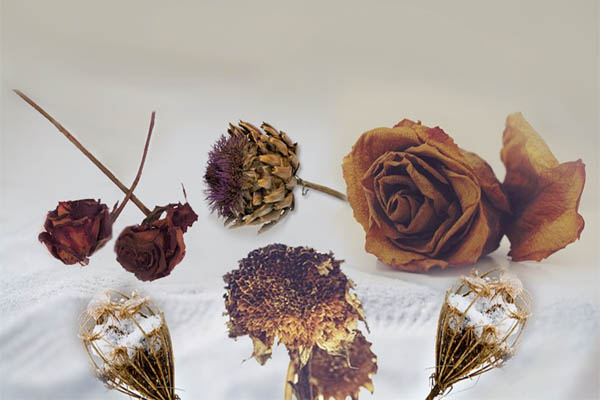
Drying with desiccants is probably the second most commonly used method for drying flowers. Although this method can be the least predictable way to preserve flowers and foliage, the results can be dazzling and lifelike. Different materials may be used and they vary in cost and the results that they produce.
For best results flowers dried with desiccants should be in bud or just prior to full bloom when they are at their peak of color. It is also very important to use the correct procedure when covering the flowers so that their form will be maintained.
 Drying Flowers in the Microwave Oven
 Extremely Important: Refrain from using any anti-desiccant spray or any type of preservative that would be sprayed onto a fresh flower. This can destroy the preservation process.
Dry only one type of flower at a time, because some flowers take longer to dry than others.
Use only plastic containers with tightly fitting lids.
Put about an inch of desiccant mixture on the bottom of plastic container.
Important: the desiccant must be completely dry before you begin.
Dry flat faced flowers and radial shapes should be dryed face down on pre-formed mounds of desiccant. Carefully add desiccant until flowers are completely covered, being sure not to disrupt the natural form.
Most compact flowers dry best with their heads facing up when using desiccants.
Cut the flower stem to about a half an inch and stick this into the center of the desiccants at the bottom of the container to hold the flower.
Build up the desiccant mixture around the edges of the flowers. Sprinkle a light layer on top of each flower and carefully separate the petals as you sprinkle. Continue adding the layer around until the flower is completely covered (about one inch above the top of the flower).
Cover the container with a tight fitting lid (or seal it if lid is not very tight) if using silica gel and other desiccants. You can leave the container just covered if using sand.
Label the container with contents and date, and store in a dry place.
When drying with desiccants check frequently because the flowers can be burned if embedded too long.
With a soft brush remove any desiccant that tends to cling.
If you want to add color to your dried flowers you can use artist pastels. Finely grate the pastels into a dust and mix dust from various colors to achieve a color similar to the natural flower color. Place the dust mix in a plastic bag and insert the flower, holding on to the stem. Dust the flower with the pastel mixture, remove it from the bag and shake off all excess dust.
On the end of drying process, white or clear glue may be placed at the base of some flower petals to prevent shattering.
Sand is the cheapest desiccant on the market. You can used washed fine sand or use white silver sand or floral sand. It is available at garden or pet centers and hardware stores. You can re-use the sand by sifting out any particles that might have contaminated it. Check in 10 to 20 days to see if the flowers are papery and dry. If not, re-cover and check again in a couple of days
Tip: The sand must be completely dry before you begin. You can warm it in the oven at 100 degrees for a half-hour before using.
Silica gel is the best drying agent for retaining a flower's form and color. Silica gel may be oven-dried (at 300° F) and reused. Find Out More About Drying With Silica Gel
Prepare an equal mixture of borax and white cornmeal (1:1), add 3 tablespoons of uniodized salt for each quart of mixture and use our standard procedure.
Check in five to six days to see if the flowers are papery and dry. If not, re-cover and check again in a couple of days.
Tip: Delicate flowers with high water content such as rose buds are to difficult to dry in borax mixtures.
Prepare mixture of borax and sand (2:1) and use standard procedure. Check in 10 to 12 days to see if the flowers are papery and dry. If not, re-cover and check again in a couple of days.
Important: Do not use borax alone, as it may cause bleaching.
Tip: Avoid sand with rough edges because if that sand is used it may produce small holes in the petals.
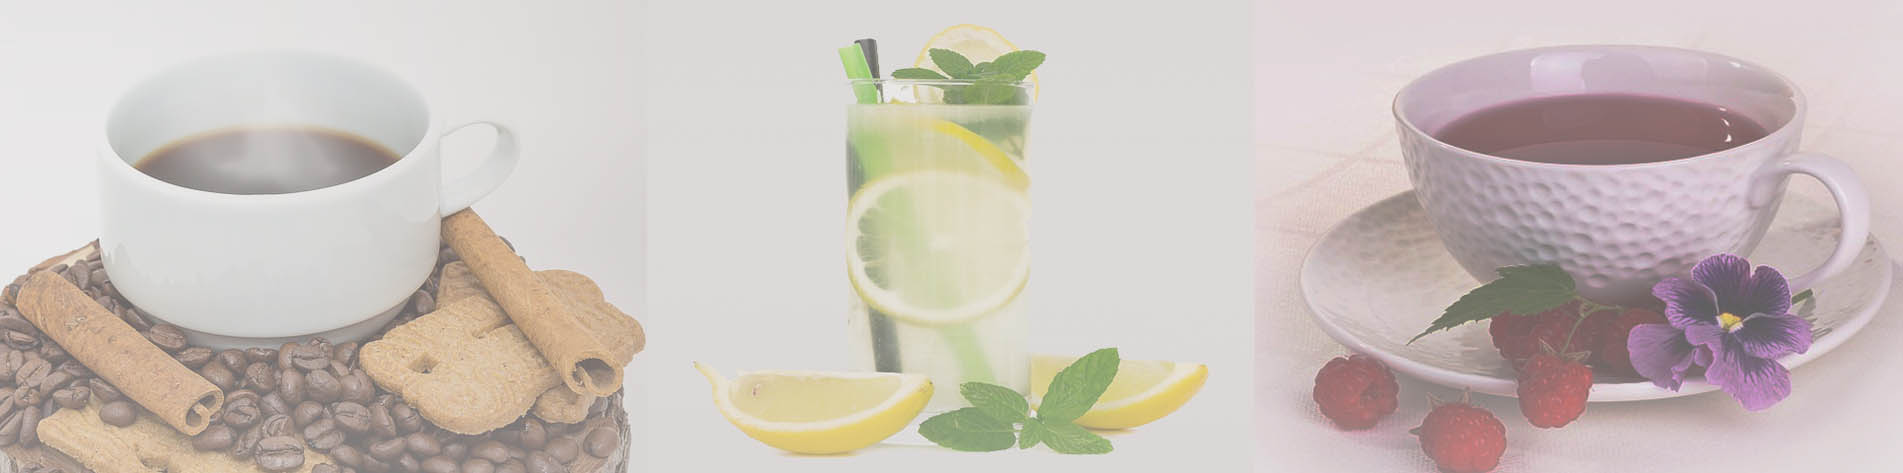
Civilization in its onward march has produced only three important non-alcoholic beverages—the extract of the tea plant, the extract of the cocoa bean, and the extract of the coffee bean.
Leaves and beans—these are the vegetable sources of the world's favorite non-alcoholic table-beverages. Of the two, the tea leaves lead in total amount consumed; the coffee beans are second; and the cocoa beans are a distant third, although advancing steadily. But in international commerce the coffee beans occupy a far more important position than either of the others, being imported into non-producing countries to twice the extent of the tea leaves. All three enjoy a world-wide consumption, although not to the same extent in every nation; but where either the coffee bean or the tea leaf has established itself in a given country, the other gets comparatively little attention, and usually has great difficulty in making any advance. The cocoa bean, on the other hand, has not risen to the position of popular favorite in any important consuming country, and so has not aroused the serious opposition of its two rivals.